Last year I got a bunch of friends together to celebrate spring's arrival and get to crafty for Easter. Looking back at photos shows all of the different techniques we used to decorate our fabulous eggs. I'm getting extra excited for this year's Egg Decorating event. The coolest part about an annual egg-decorating tradition? Saving the egg shells year after year and remembering all of the lovable people who stopped by to get crafty and contribute to our massive Easter Egg Tree.
This first photo shows a marbleized effect made by using nail polish dripped into water like this.
My sister designed this little bunny egg by drawing with wax on a plain white egg, then painted on the various colors of dye.
The navy blue Aztec-inspired design was also done using the wax-resist method. I drew the triangles first with wax(they are white), then dunked the whole egg in yellow dye. Then I used wax to protect a yellow stripe around the middle of the egg. Next I dunked the whole thing in a red/purple dye, and finished up with a dark blue. You always go in order of lightest to darkest when dong wax-resist egg dying. Very official here.
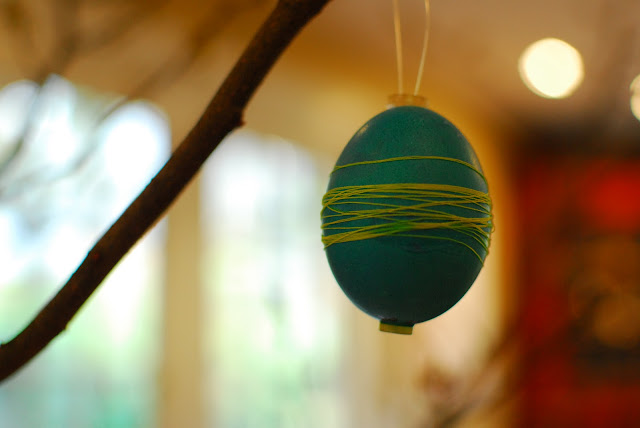
This simple guy was dyed turquoise and got wrapped with a fine, neon thread.
Hayley made use of letter stamps for her egg.
Mark decided to make a 3D sculptural landscape using puffy paint for his egg. It didn't dry so well...
We use a super old, manual drill press to carefully drill into the top and bottom of each egg. This allows you to blow the yolk and whites out and have a shell that will last forever (Forever is relative. You gots to be careful with them eggs or they will breeaaaaaak).
Blowing out the yolks is not my favorite part, but totally necessary if you want to keep your magnificent creation for years.
My Mom keeps her egg-tree rooted in a white ceramic vase that I made for her when I was in high school. This makes our egg-tree extra super sentimental (duh).


No comments:
Post a Comment