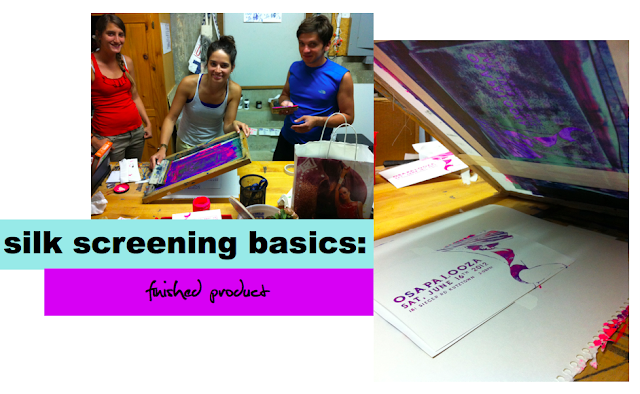
Last week my boyfriend and I made silk screened invites for an upcoming summer party we're hosting.
The basic requirements for a silk-screen project are:
- the screen
- ink
- Speedball Diazo Photo Emulsion (light sensitive paint)
- squeegee
- inkjet transparency (for printing your design)
We prepped the screen by painting photo emulsion on a clean piece of silk (set in a wooden frame) one night after work. As soon as we were done painting, the wet screen was propped up with plastic cups and put inside a large suitcase in the basement. This shielded the screen from light and allowed it to dry completely for 24 hours in the dark.
When the paint was dry, we removed the screen from the dark suitcase. We then immediately laid the screen under a light, with the transparency (printed with our design) on top of it. The light burns the photo emulsion paint, hardening everything exposed. The part covered by the black ink is shielded from the light (and therefore the design can be washed out later). After 20 minutes of light exposure...
...the next step is to wash the screen. Once the screen is "set" by the light, you simply wash the screen with either a shower head or a garden hose.
Then you're ready to start printing!
I think applying the ink is the easiest part. I usually don't worry about getting it perfect, as the imperfections and funky mixture of colors is usually the best part of the prints. Just slop some ink onto the screen, then squeegee away.
After a bunch of the prints were made, we went to town with some watercolor paint and finished the pieces. Pretty rad for a weeknight craft project...
Each of these bad boys ended up in the mail going all across the Eastern Seaboard to our friends in far away places. The colorful little postcard sized works of art call our loved ones home for the true start of summer.
<3


No comments:
Post a Comment